1 When you arrive
On arrival, you’ll be signed in and introduced to the smith who will talk through the course step-by-step and help you select which design you would like to make. We are even able to design the ring to fit around existing wedding or engagement rings. We’ll discuss what you want to achieve for the day before providing you with protective equipment and a safety briefing.
2 Firing up the forge
The forge will have been lit and heating up before you arrive, so it’s ready to go! You will get an introduction on how to control and maintain the fire of the forge to a forging heat.
3 The Forging Process
We’ll start off by introducing you to the power hammer (a piece of equipment, not a staff member) and we’ll show you how to safely operate the machine. You will then heat up your billet, cleaning with brushes and coating with borax. Once the billet is up to temperature, you will begin the welding process. This is achieved by using a mix of heat and pressure from the power hammer to turn your multiple layers of steel into one. You can then choose to manipulate the pattern of your rings through twisting – you heat up the metal, clamp it in a vice and twist the steel bar.
4 Making the Ring
You will first be taught how to punch the hole into the ring, you will increase the size of the ring using a technique called drifting until the ring is to the correct size and ready for the next process.
5 Finishing & Polishing
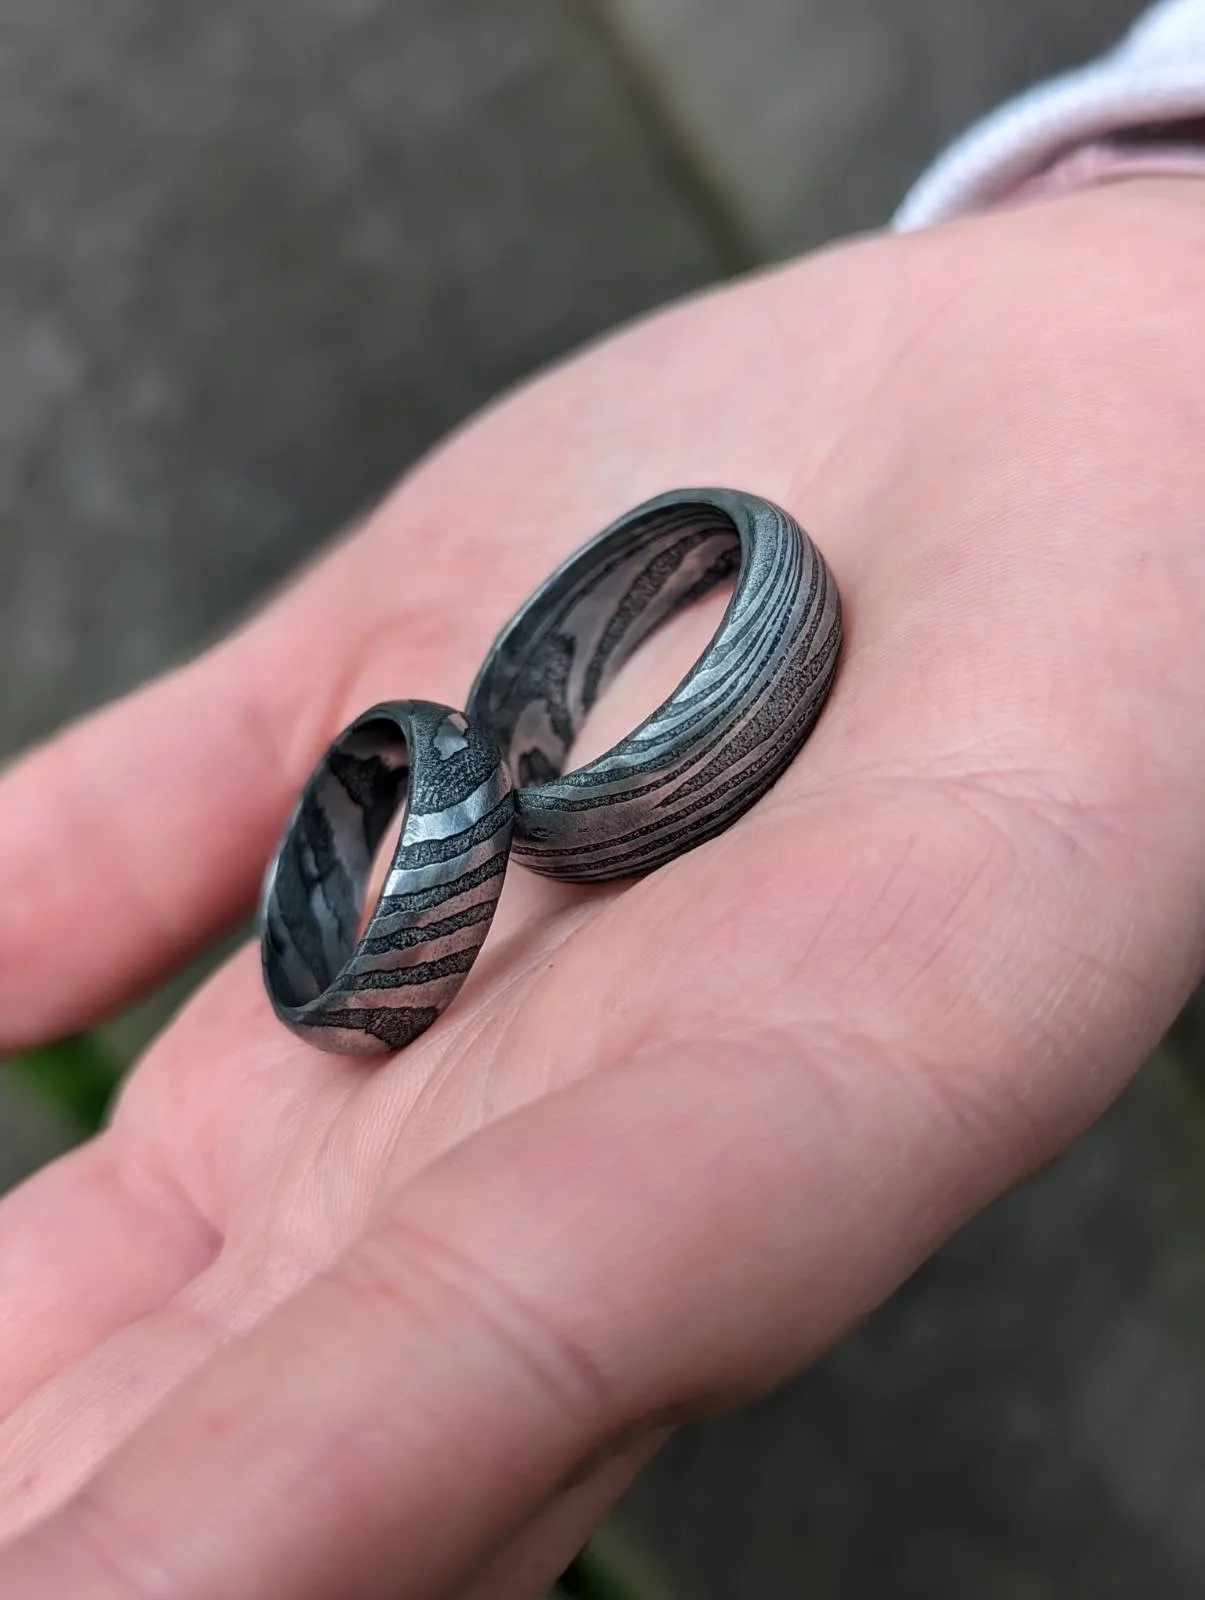
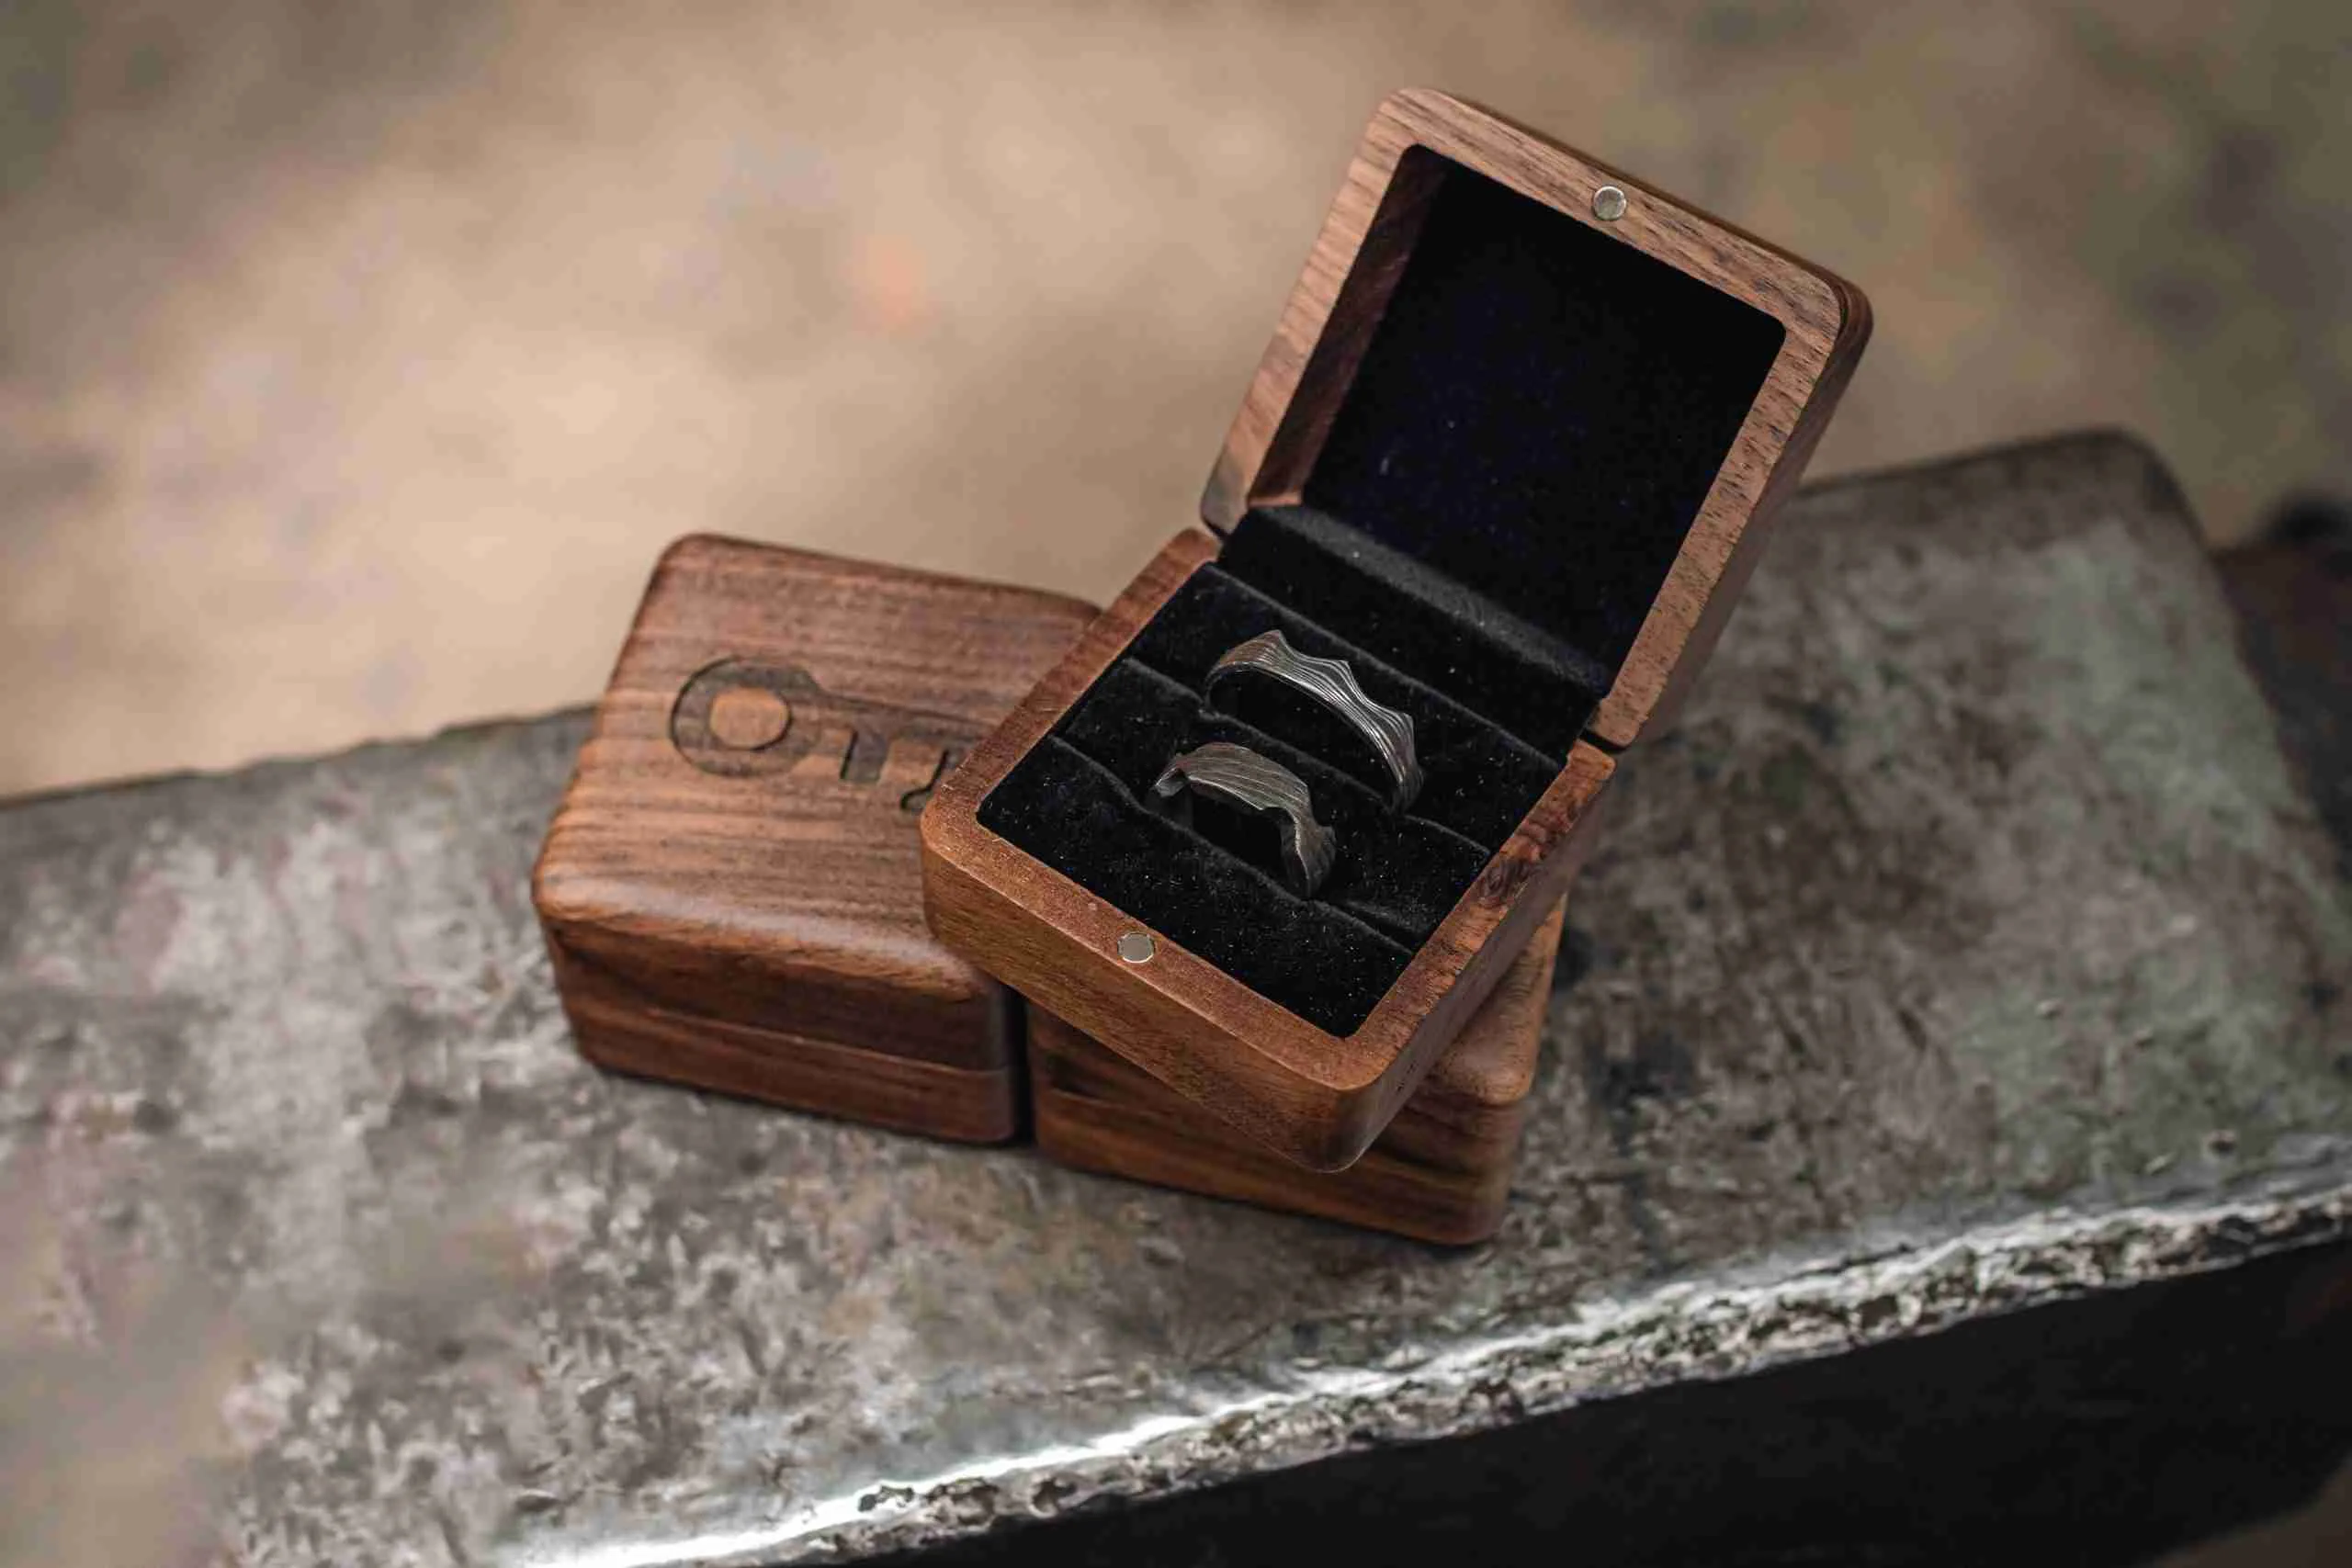
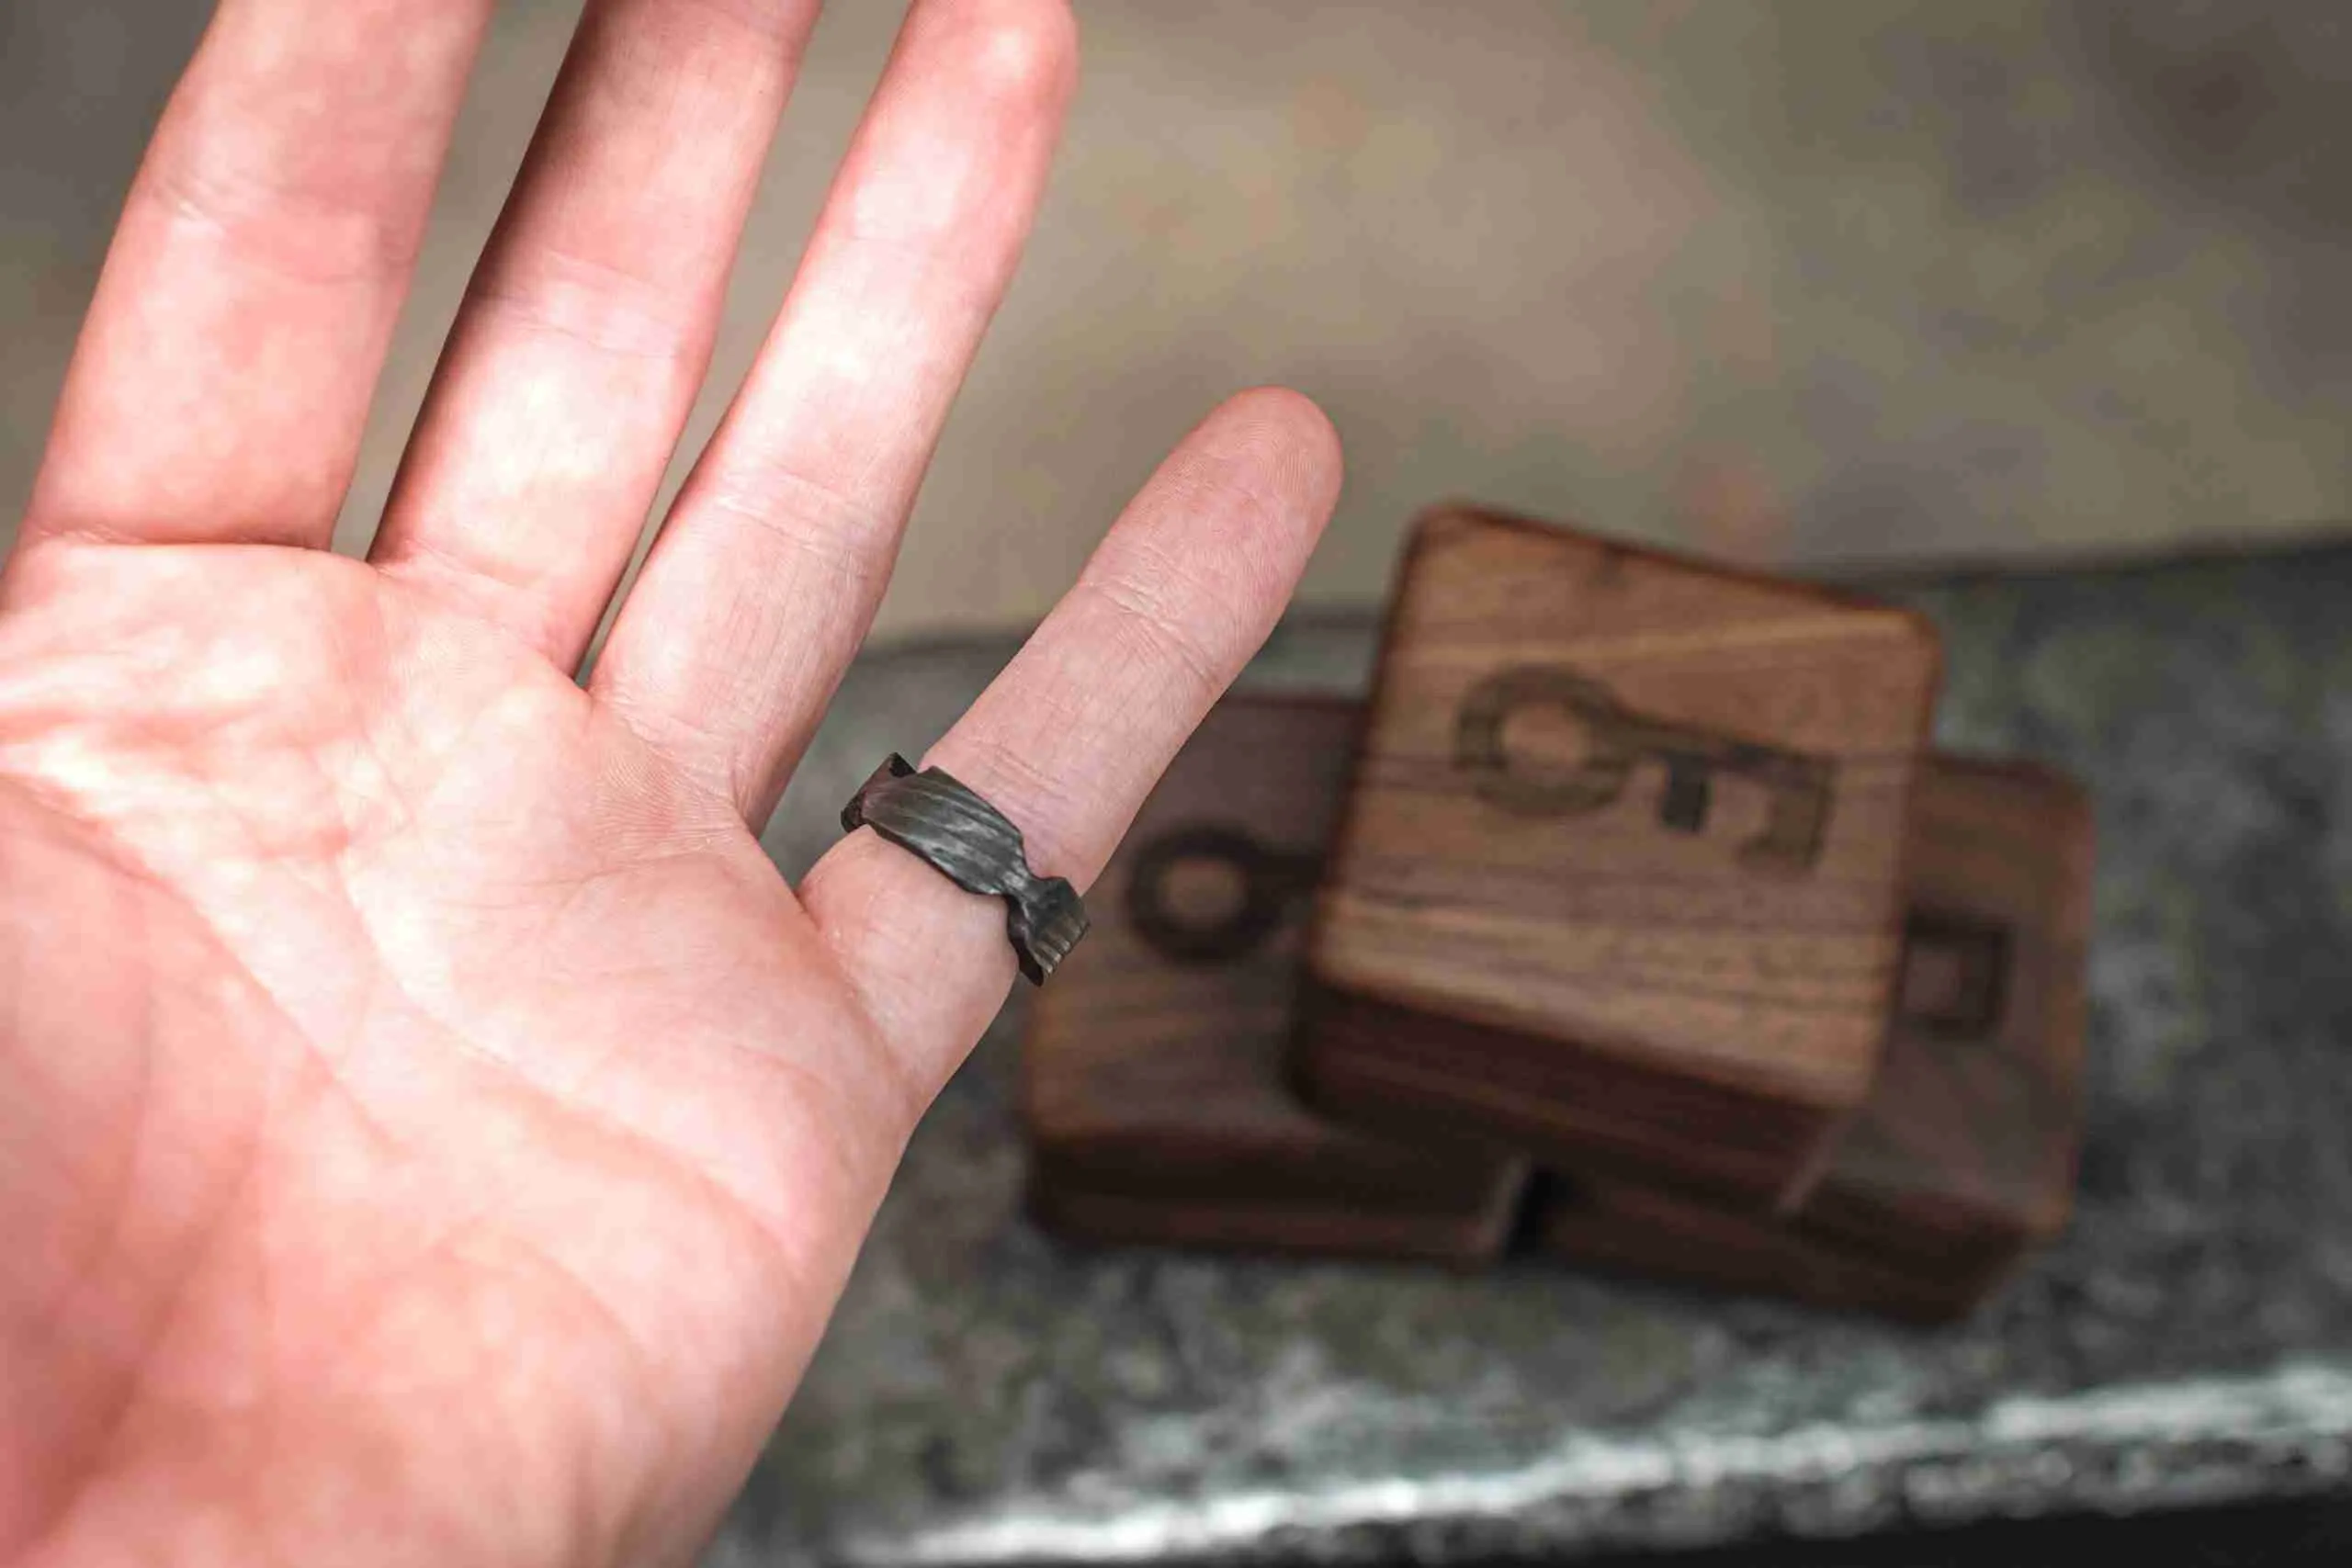
When the ring is the correct size you will head to the grinding bay to use the belt grinders and dremel tools to size, clean and polish your rings.
6 Photo Time
It’s great fun working alongside one another and crafting something unique! Once the forging is complete, it’s time to pose for those all-important photos at our wooden stage!